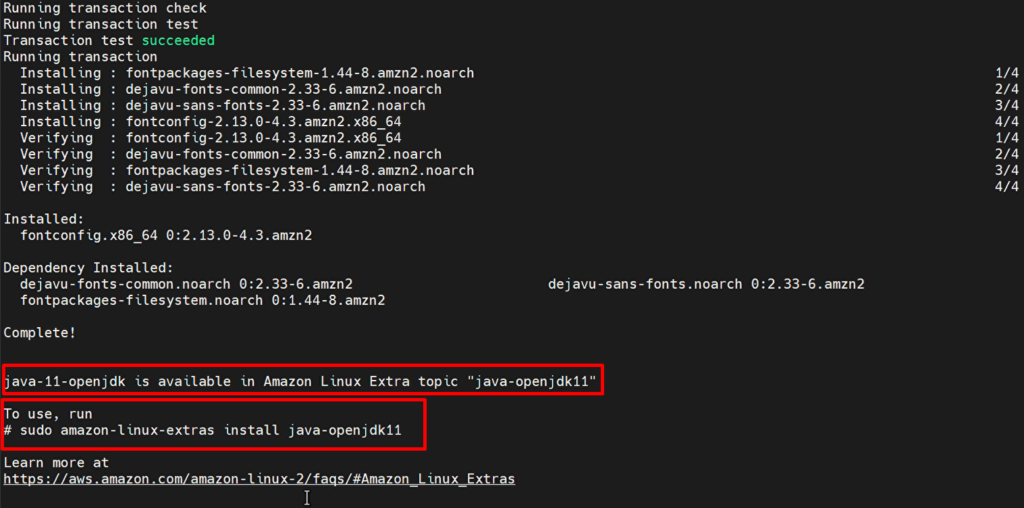
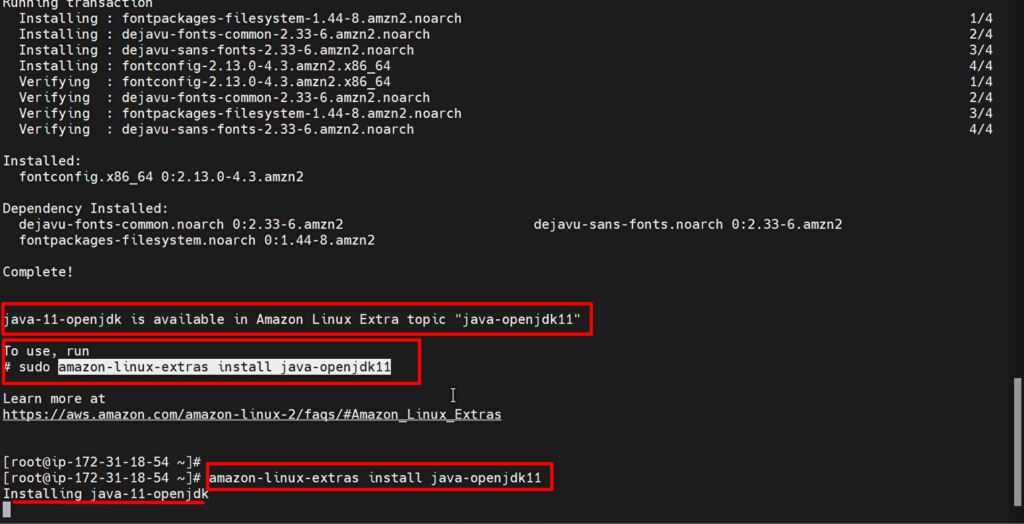
Now you can see above that Java has been installed successfully
For reference document for step 2, please click here
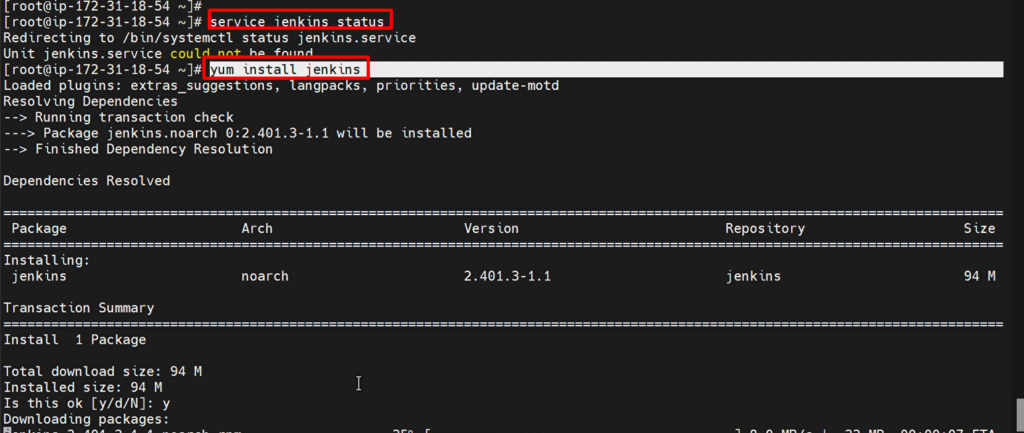
STEP 3:- how to install Jenkins in an EC2 instance?
As we have installed Java in previous step 2, Now we are ready to install Jenkins into EC2
To install Jenkins onto EC2 instance we need to run below command
yum install jenkins
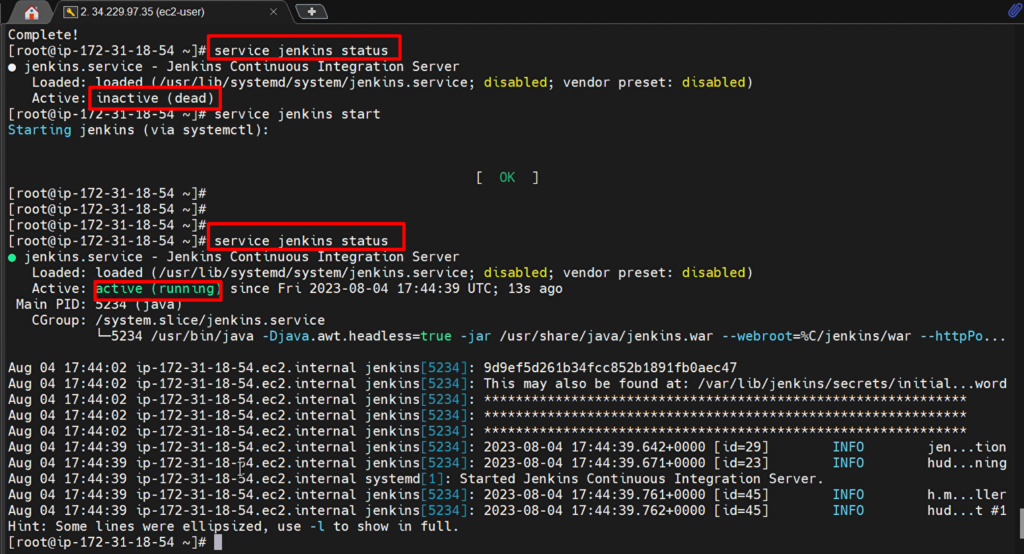
Step 4:- How to start Jenkins? And How to check Jenkins running status?
After installing Jenkins, we will start the Jenkins and then check the Jenkins status with the help of the below commands
					service jenkins start
service jenkins status
systemctl enable jenkins
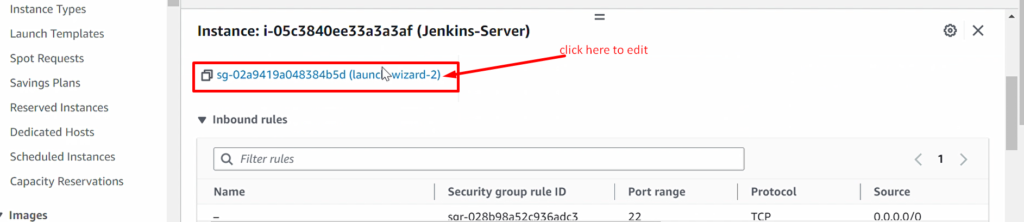
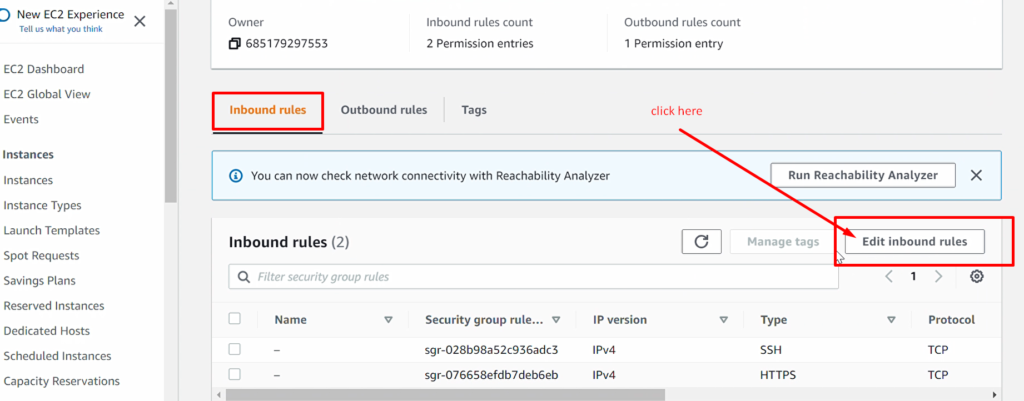
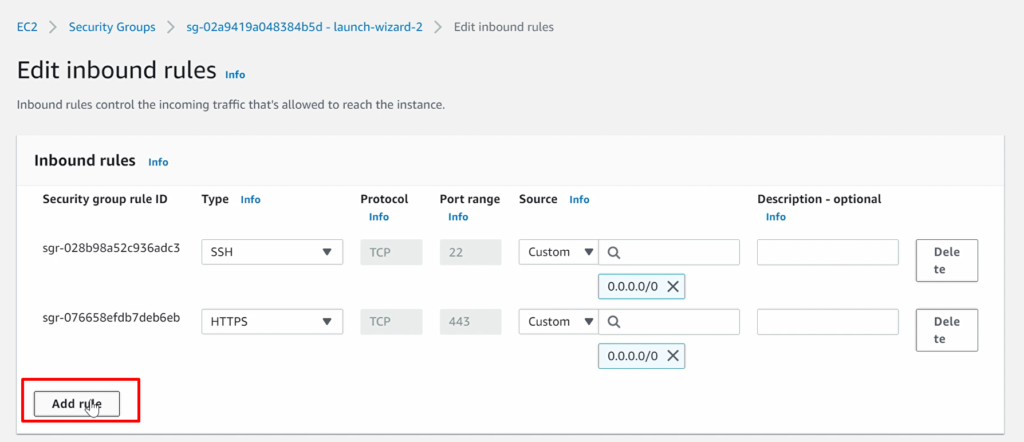
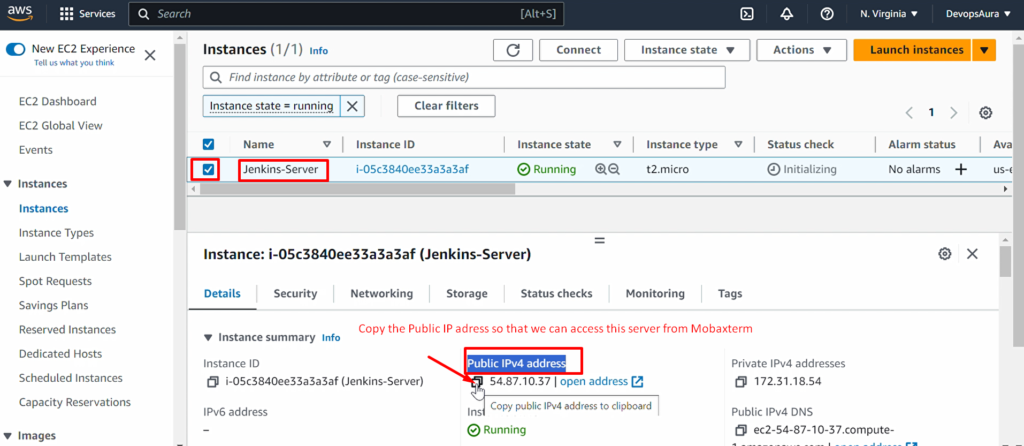
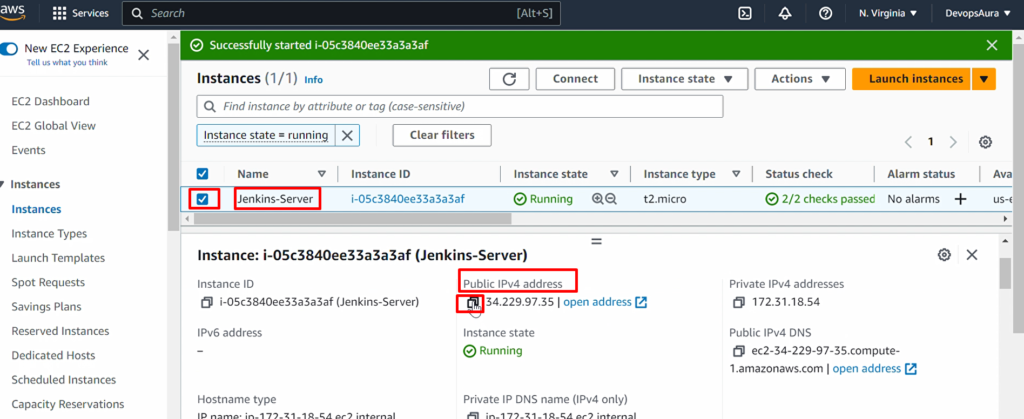
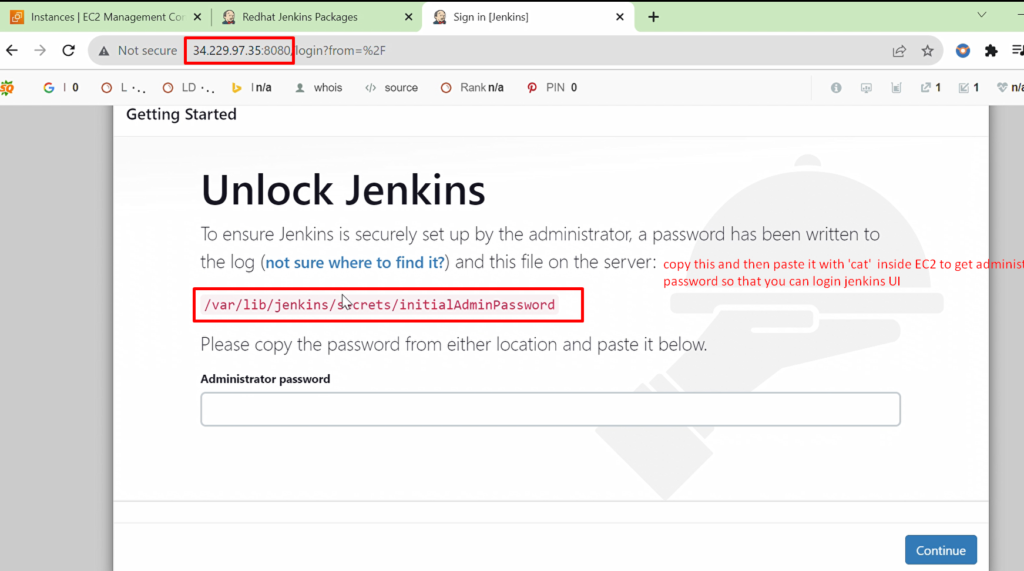
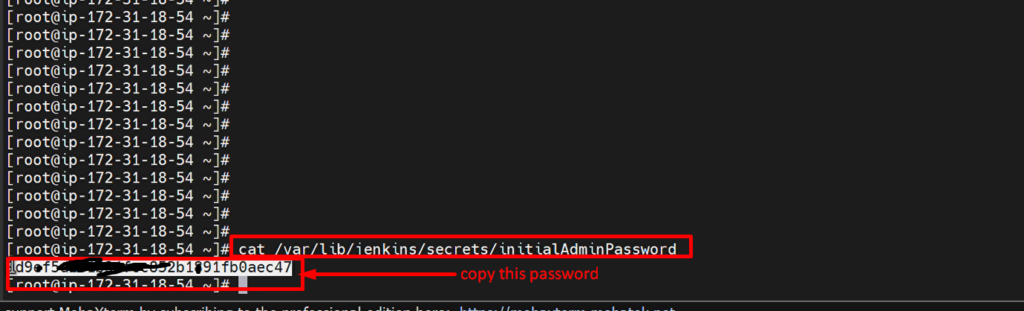
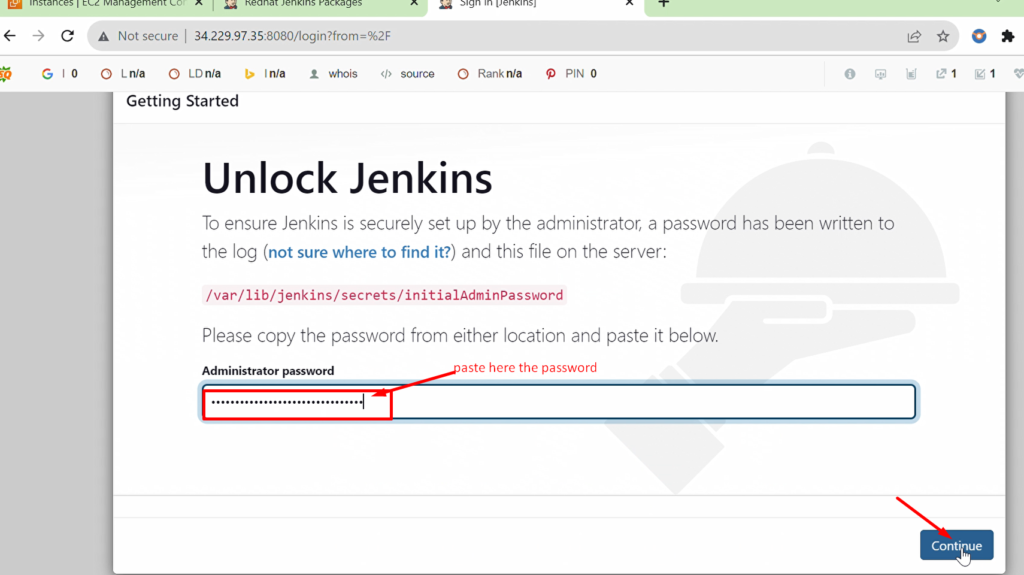
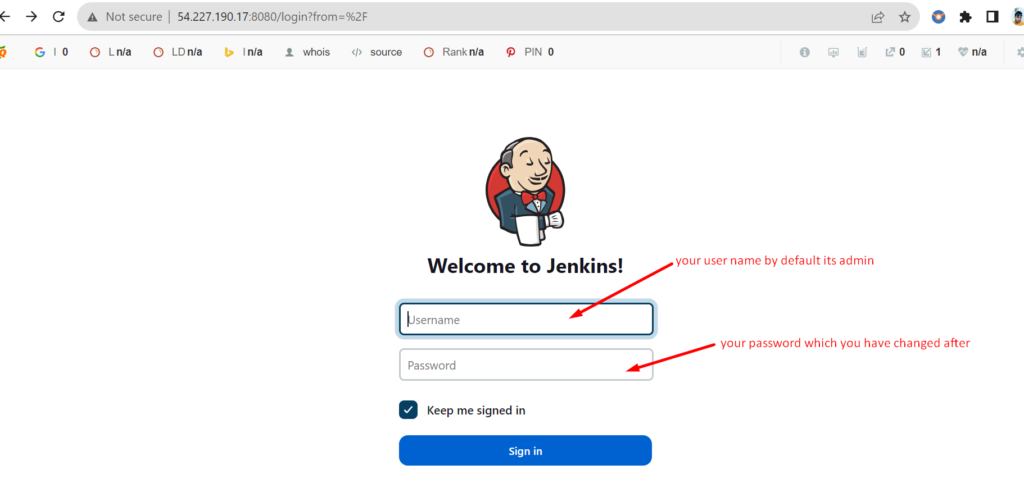
Step 5:- How to access the Jenkins server web UI?
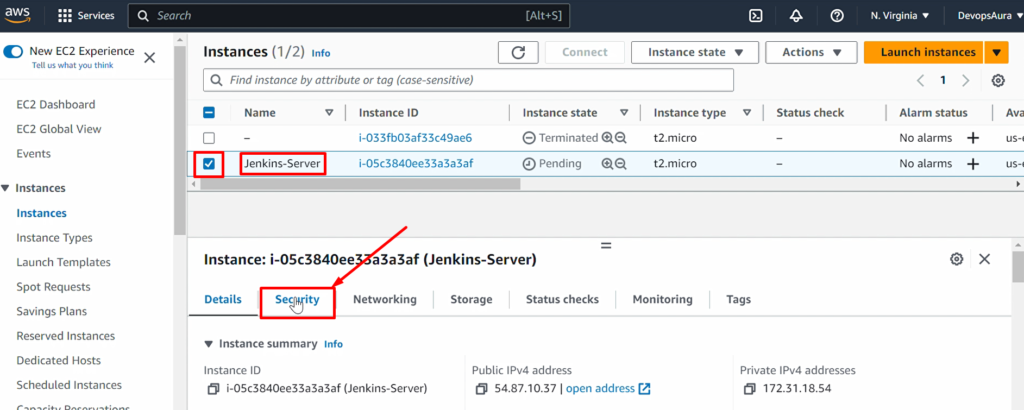
First, copy the public Ip address from the EC2 instance and then search for the ip address with port number 8080 in any browser as below
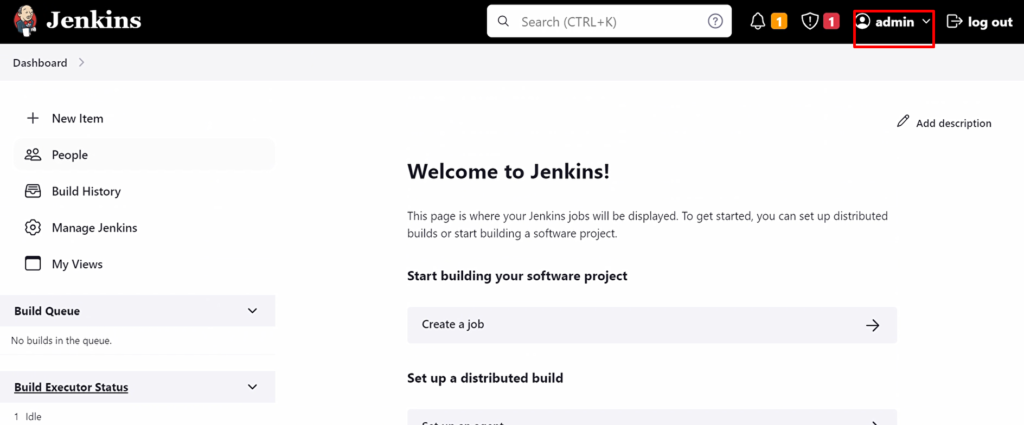
How to change the default admin password?
Just click on your Profile (admin) and remove the password and put your password in whatever you want to use next time Jenkins login.
By default, the username is ‘admin’.
Video Recording
How to Run Our Jenkins Job?
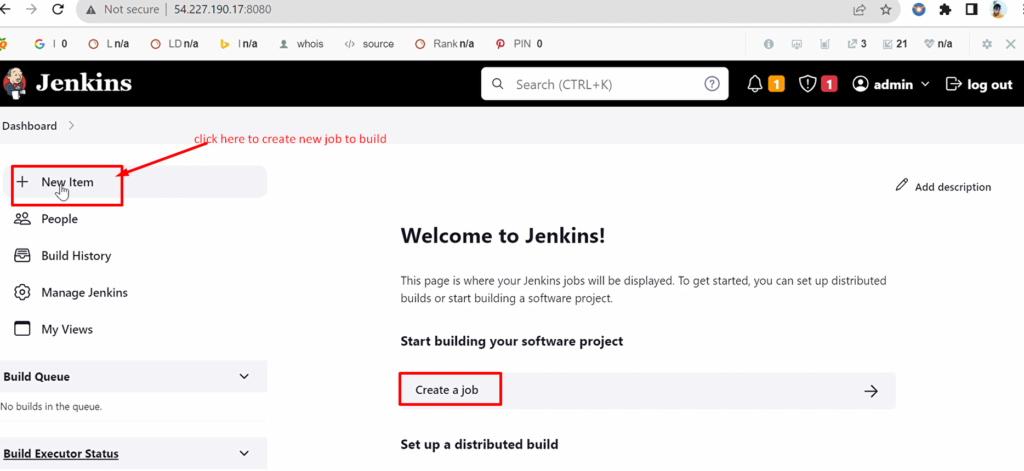
Now I will tell you how to create our first Jenkins job to build.
Step 1:- First log-in Jenkins dashboard from the browser
NOTE1:- if you had restarted/rebooted/stopped your EC2 instance(Jenkins server) then you have to again start your Jenkins service with cmd “service Jenkins start” .
NOTE2:- Remember always, after stopping/restarting EC2 instances, Public IP also will be changed so no need to take worry if you see different public IP.
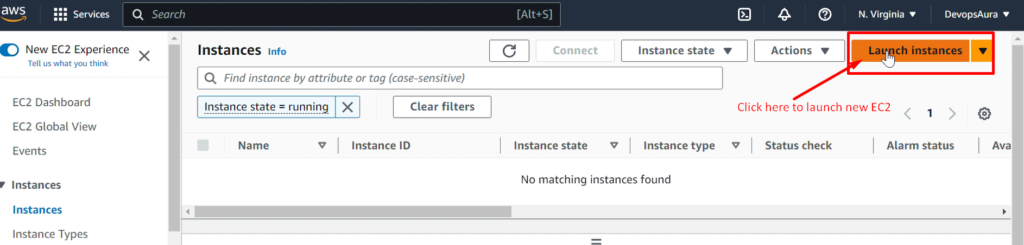
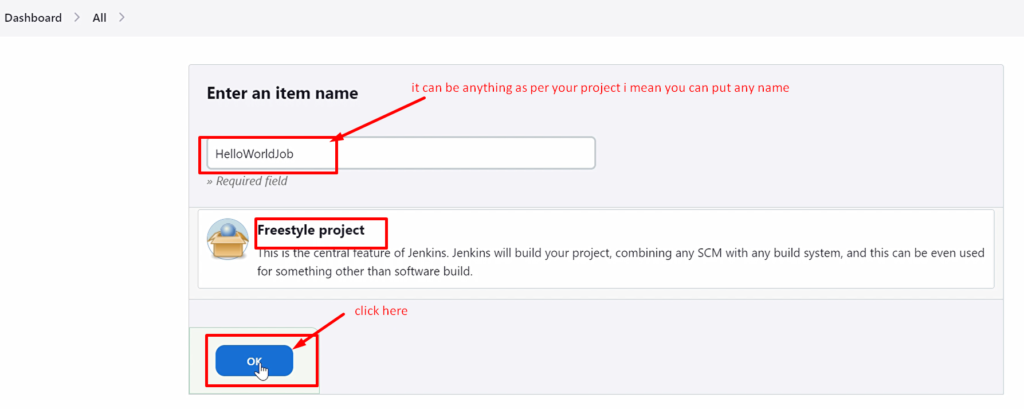
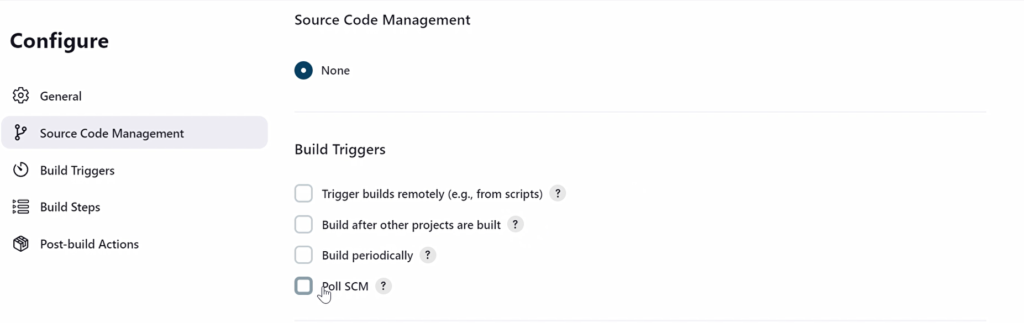
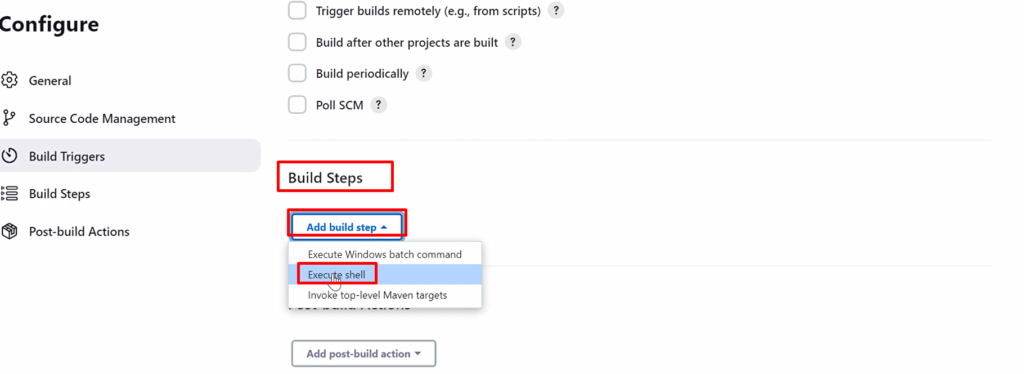
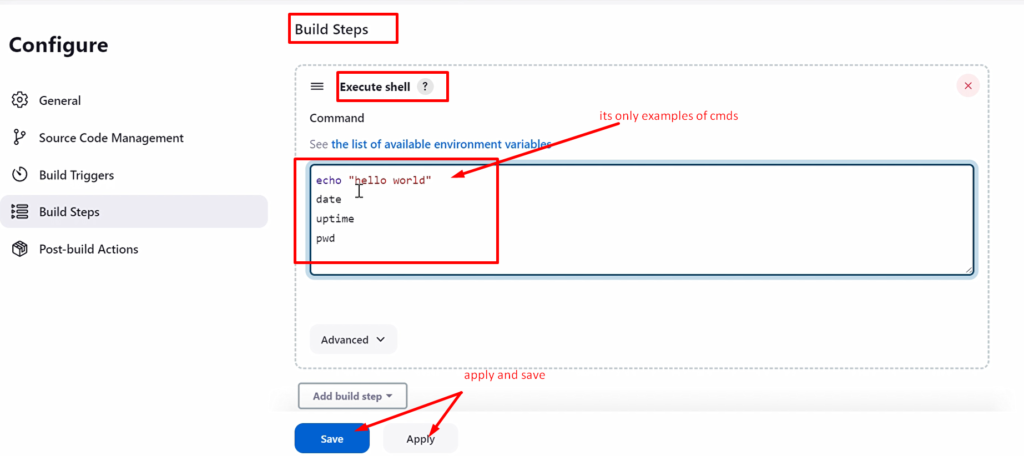
Step 2:- Now create job to build
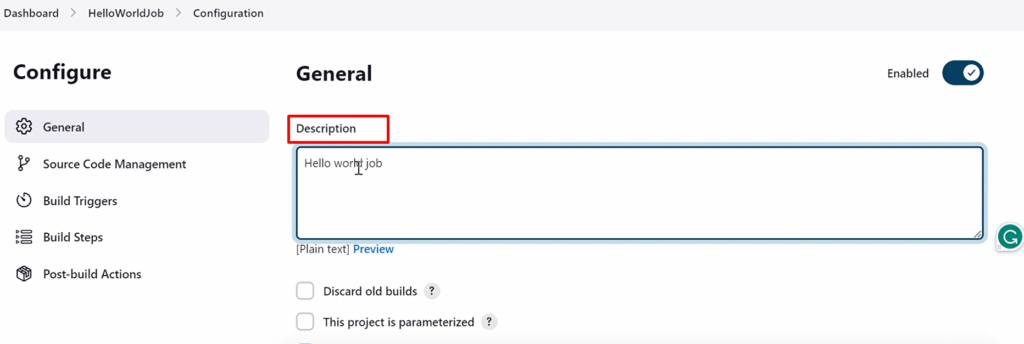
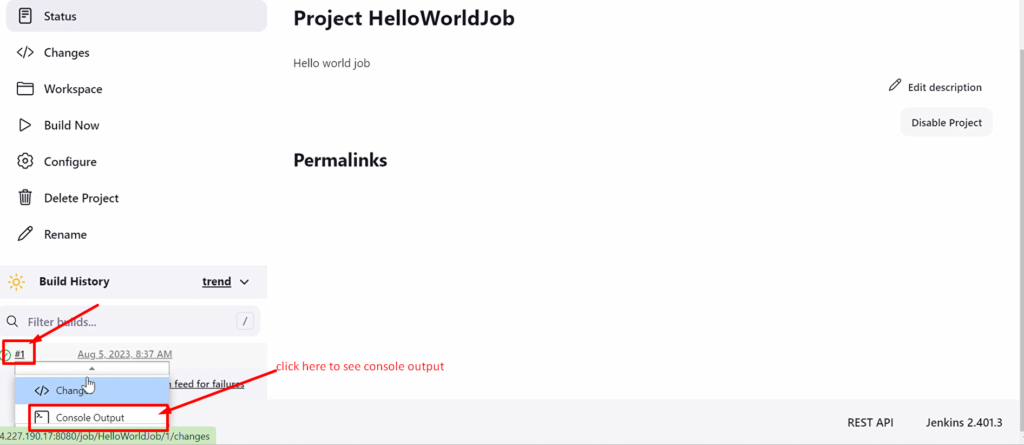
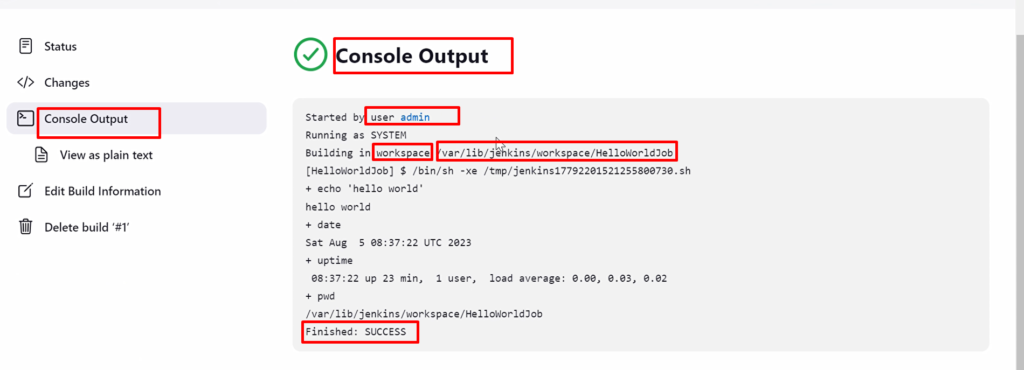
Step 3:- After creating the freestyle pipeline job, you need to build that job now
Now you can check the build status from the consol output as below screenshot
Now Jenkins first job is successfully created and build successfully
Video:-
If you have any doubt about any step of “how to run Jenkins job” or are stuck any step, please go through this video, which will help you understand and clear your doubt.
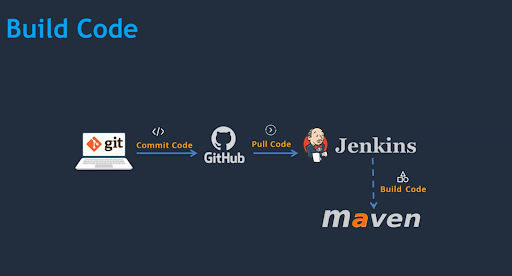
We will follow the below steps to pull the code from GitHub
Step 1: create a new fresh job to pull the code

Step 2: And then run(build) that job to pull the source code

Step 3:- verify that you have pulled the code into Jenkins or not.
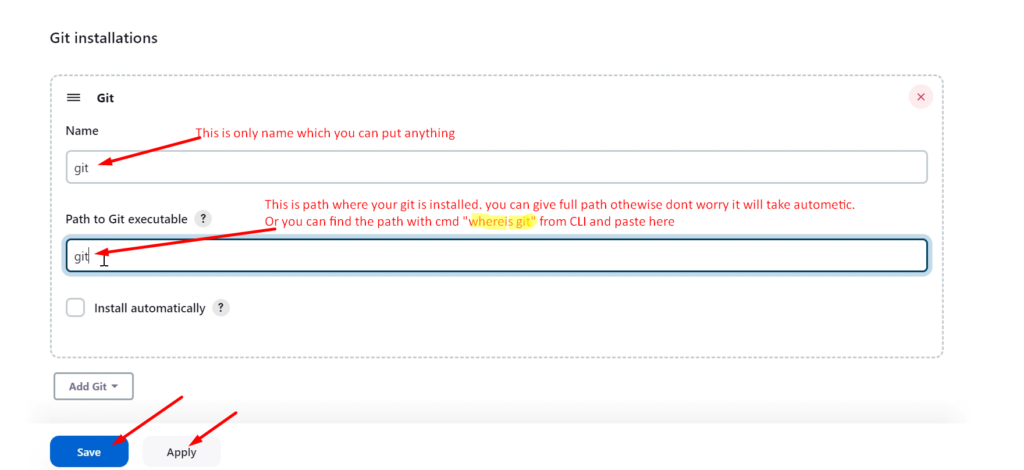
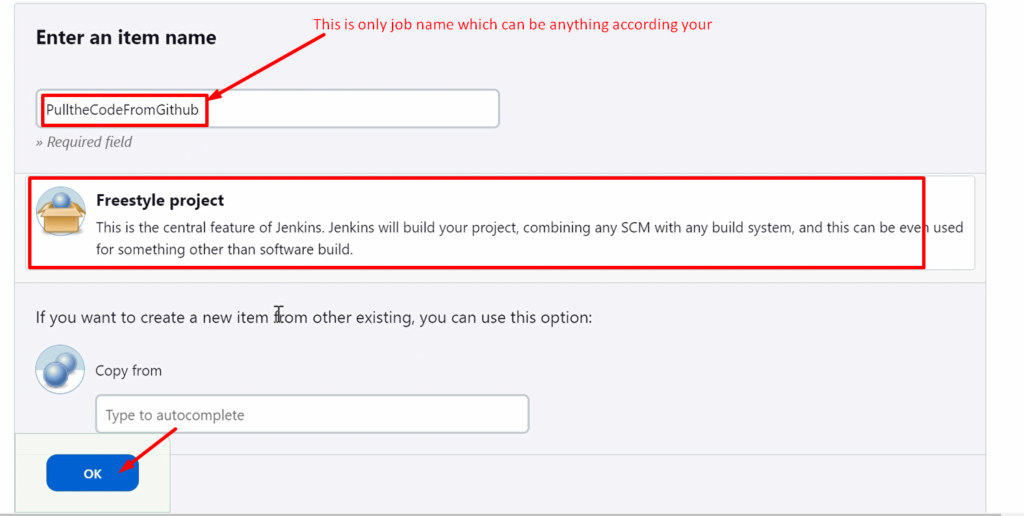
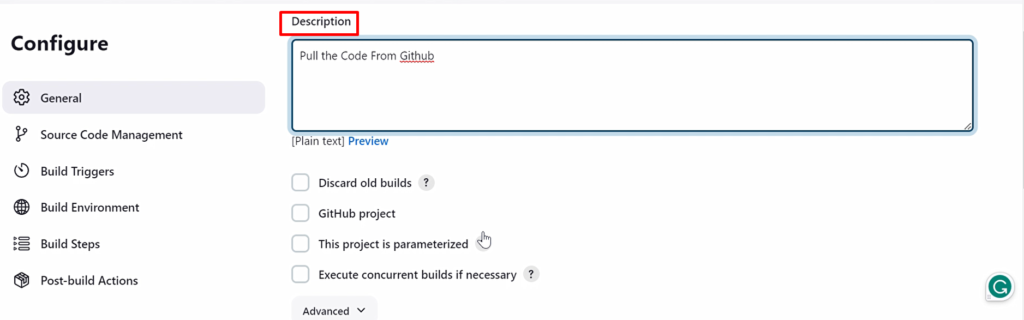
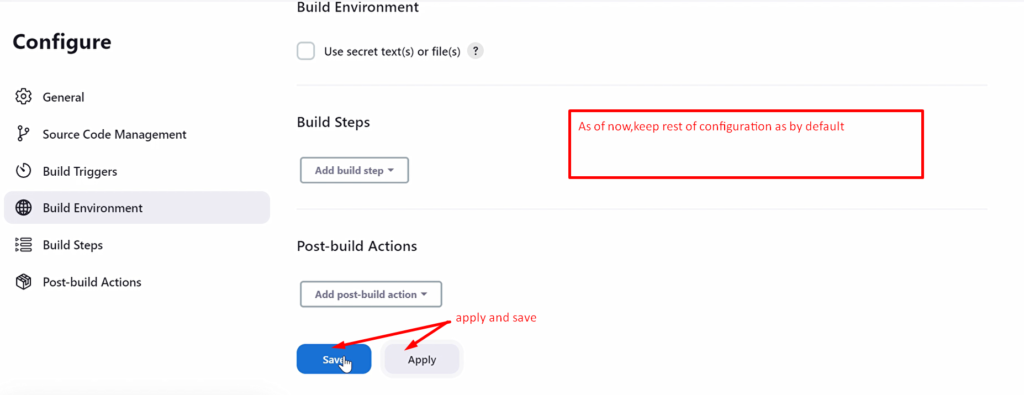
Step 1: Create a New Fresh Job To Pull The Code
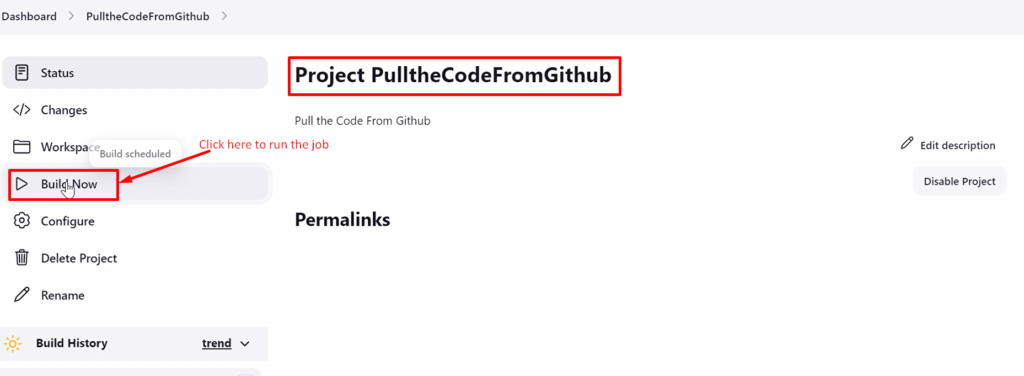
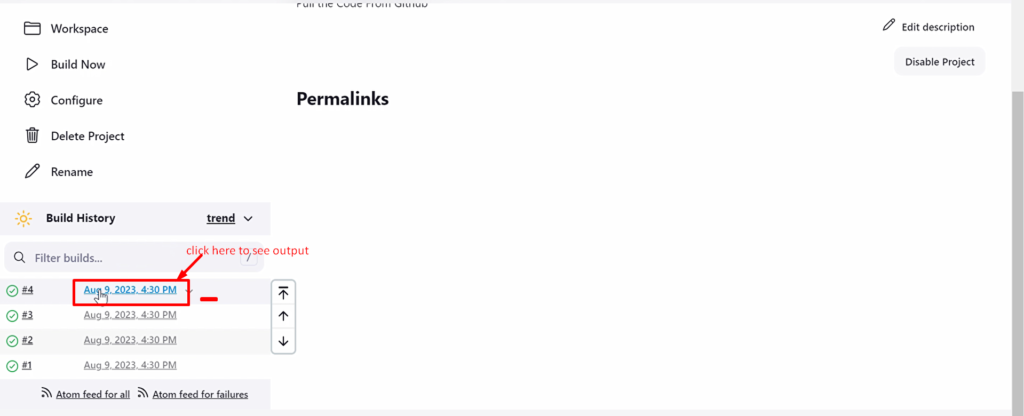
Step 2: Run(build) that job to pull the source code
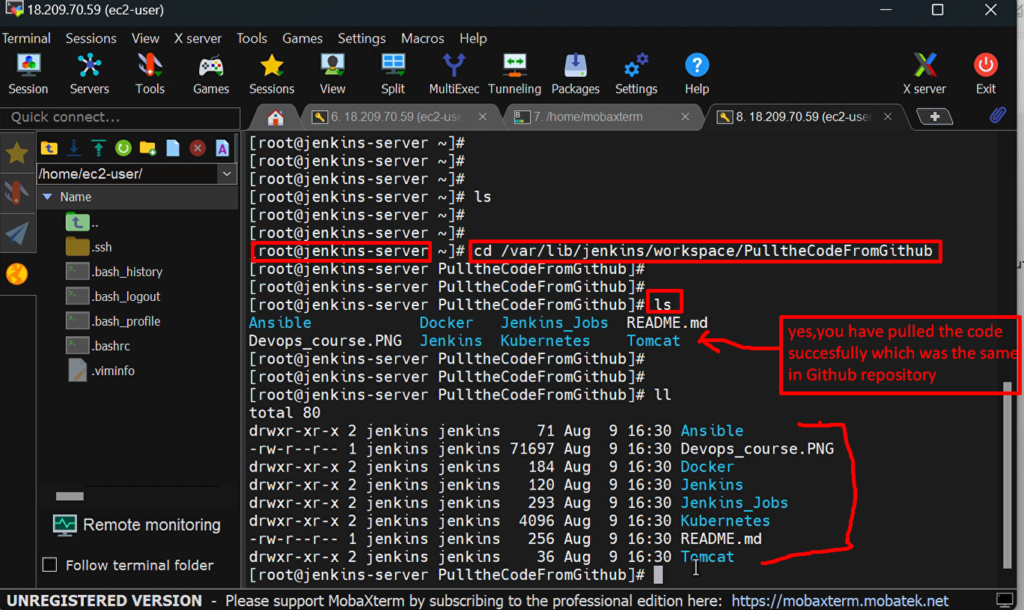
The point to remember is –By default, Jenkins is going to store all build-related information inside the workspace folder i.e /var/lib/jenkins/workspace/
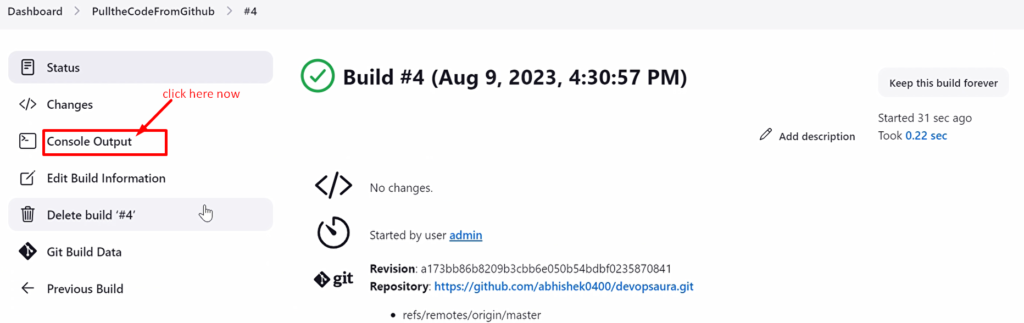
Step 3:- verify that you have pulled the code into Jenkins or not.
Video recording
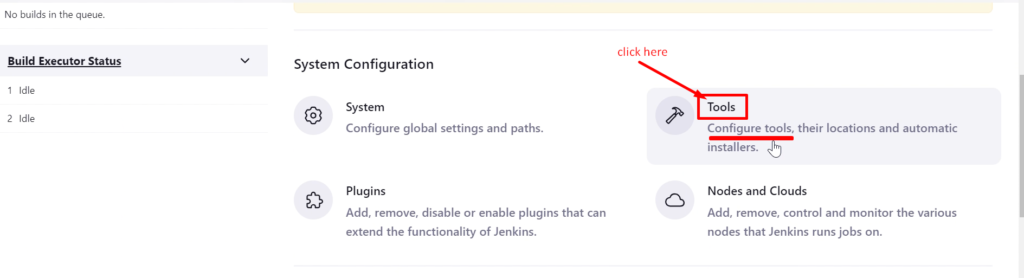
Integrate Maven to Jenkins:-
Note:- Here, we are going to use the Jenkins server as the build server to reduce complexity. Otherwise, we can make a separate Maven build server
Here, we are going to integrate Maven into Jenkins.